What you will do:
Attach the Rainbow HAT and install the required software and libraries.
What you will learn:
How to install a Pimoroni software library (it's virtually the same process for all of our boards).
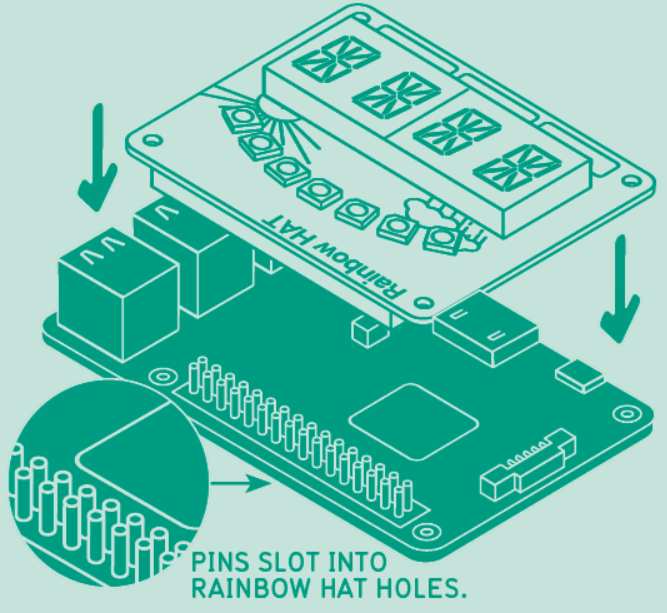
Put the board on the Raspberry Pi:
Make sure your Raspberry Pi is switched off before you do this step.
Under the Rainbow HAT is a strip of holes called a header, and this pushes on gently to the pins sticking up from the Raspberry Pi. There are exactly the right number of holes for the pins, so if you can see any pins sticking out either side, then you haven't lined it up right and need to try again.
The HAT sits on top of the Raspberry Pi. There are some holes to the left of the A button and the right of the C button that you can put some little supports called standoffs in (available separately), but it isn't necessary unless you have POE pins (four in a little square) sticking up which might touch otherwise.
Open a Terminal:
A Terminal is the screen you can use to give commands directly to the Pi, and it's what we'll use to install the libraries and examples for the Rainbow HAT. Turn on your Raspberry Pi and when it's booted and connected to the internet, open a Terminal.
You can open a Terminal window by clicking on the black box with a blue stripe on the toolbar of your Pi, or by going in the Accessories menu and picking Terminal.
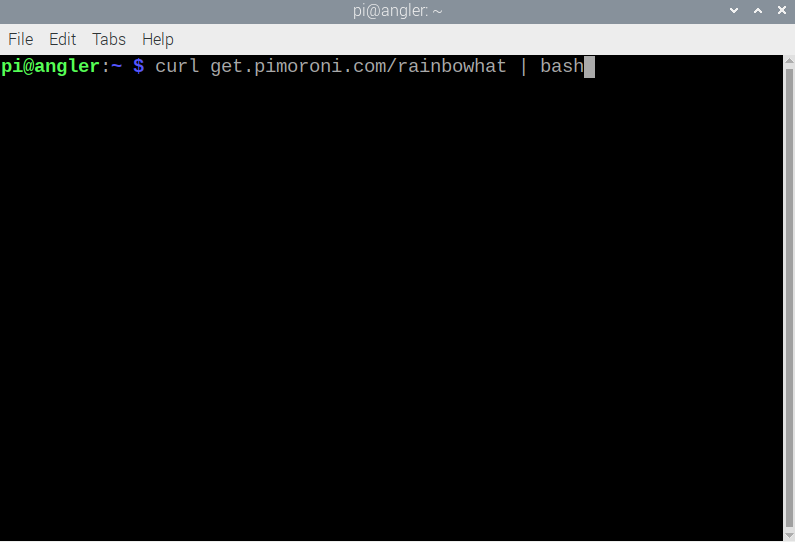
You will need to type this line at the prompt:
curl get.pimoroni.com/rainbowhat | bash
If you haven't used one before, that tall line is called a pipe, and it's in different places on different keyboards. On my Pi keyboard it's above the Enter key, but on my laptop it's to the left of the z. Take a minute to find it on your keyboard - because it's very useful!
When you press Enter you should see this happening. If it doesn't, it is likely that you have made a typo, so make sure all spelling, spacing, and punctuation is correct. If you do not have an internet connection it will fail, because it needs to go to that web address to get the libraries.
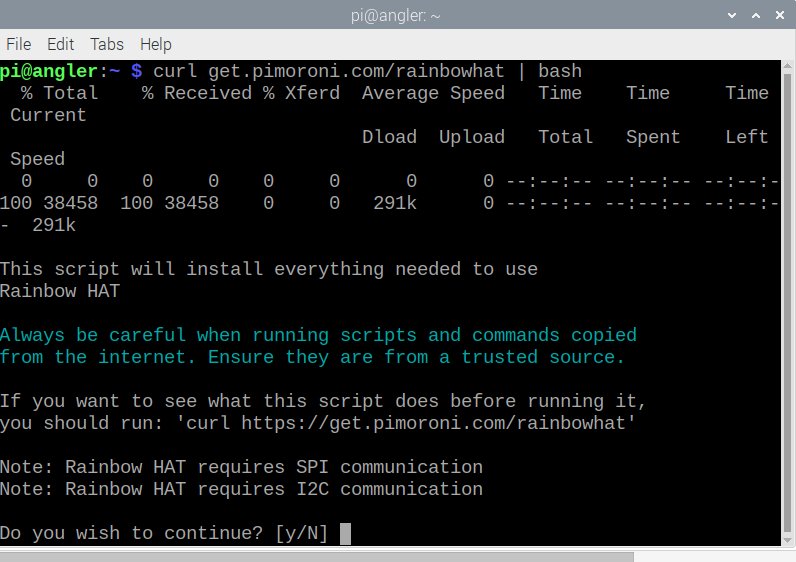
We do want to install the libraries, so type "Y" and press Enter.
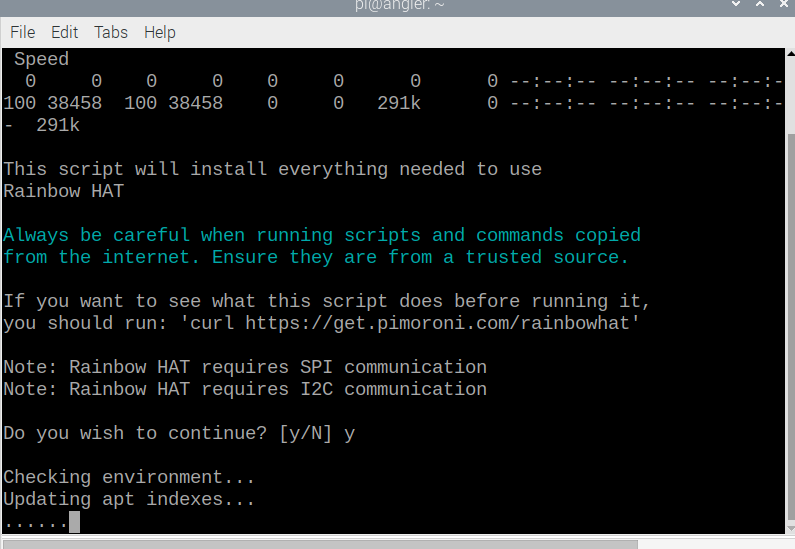
The process of installation will start and various messages will come up on the screen to tell you which stage of the process it's at. The whole thing might take seconds or minutes, depending on the speed of your connection and the speed of your Pi.
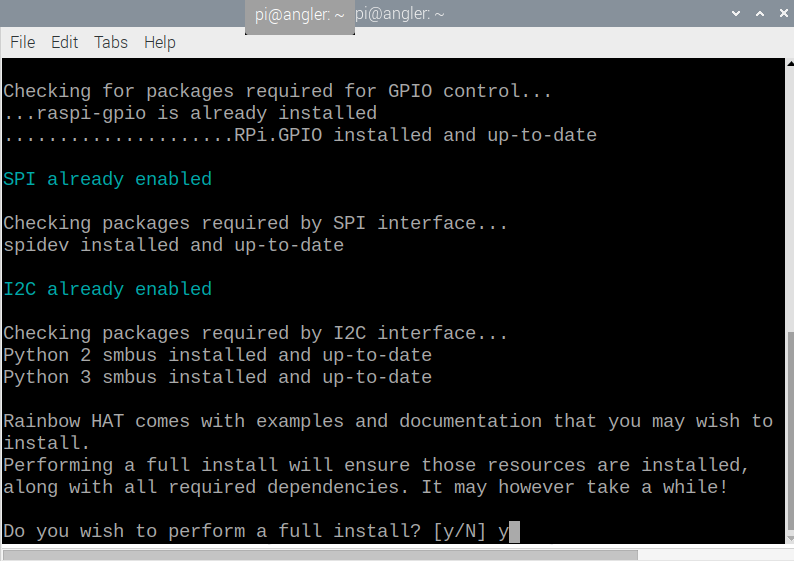
The next bit is asking you to make a decision about a full install. If you say yes to this it will install the examples and any text documents we've made for it. Some people choose not to do this to save storage space. For the activities you will need a full install, so type Y and press Enter.

The process is now finished and you can see from the blue message that all the files for the Rainbow HAT are in a directory called Pimoroni, in a directory called rainbowhat inside there.
Now you're all installed you can move on to controlling the Rainbow HAT for yourself!