Did you know you can log live sensor information from the micro:bit with nothing more than a Windows computer?
This is currently a beta testing feature, and so there are, as micro:bit say, "a few rough edges". You can find out more about their beta testing here.
Firstly, this tutorial is for Windows 10, using a data cable, and the web interface at makecode.com on the Chrome browser or on the Windows 10 app. Future tutorials are planned for other systems as soon as there are updates.
What you will learn:
How to read serial data from the micro:bit directly onto your computer.
What you will need:
A micro:bit, USB data cable, device to code on - we used a windows laptop for this tutorial. (optional) enviro:bit
Start a new project at makecode.microbit.org, or by opening the app.
- If you are using the enviro:bit, make sure you install the blocks for it (click the cog, Add Package, search for enviro:bit, click on the picture of the enviro:bit).
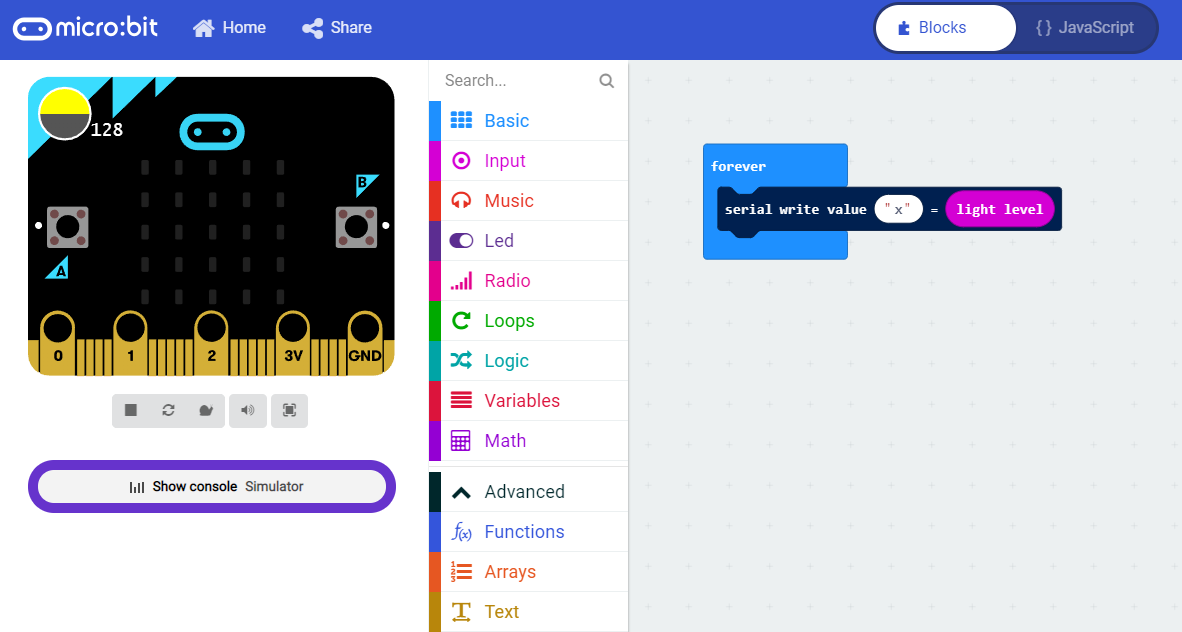
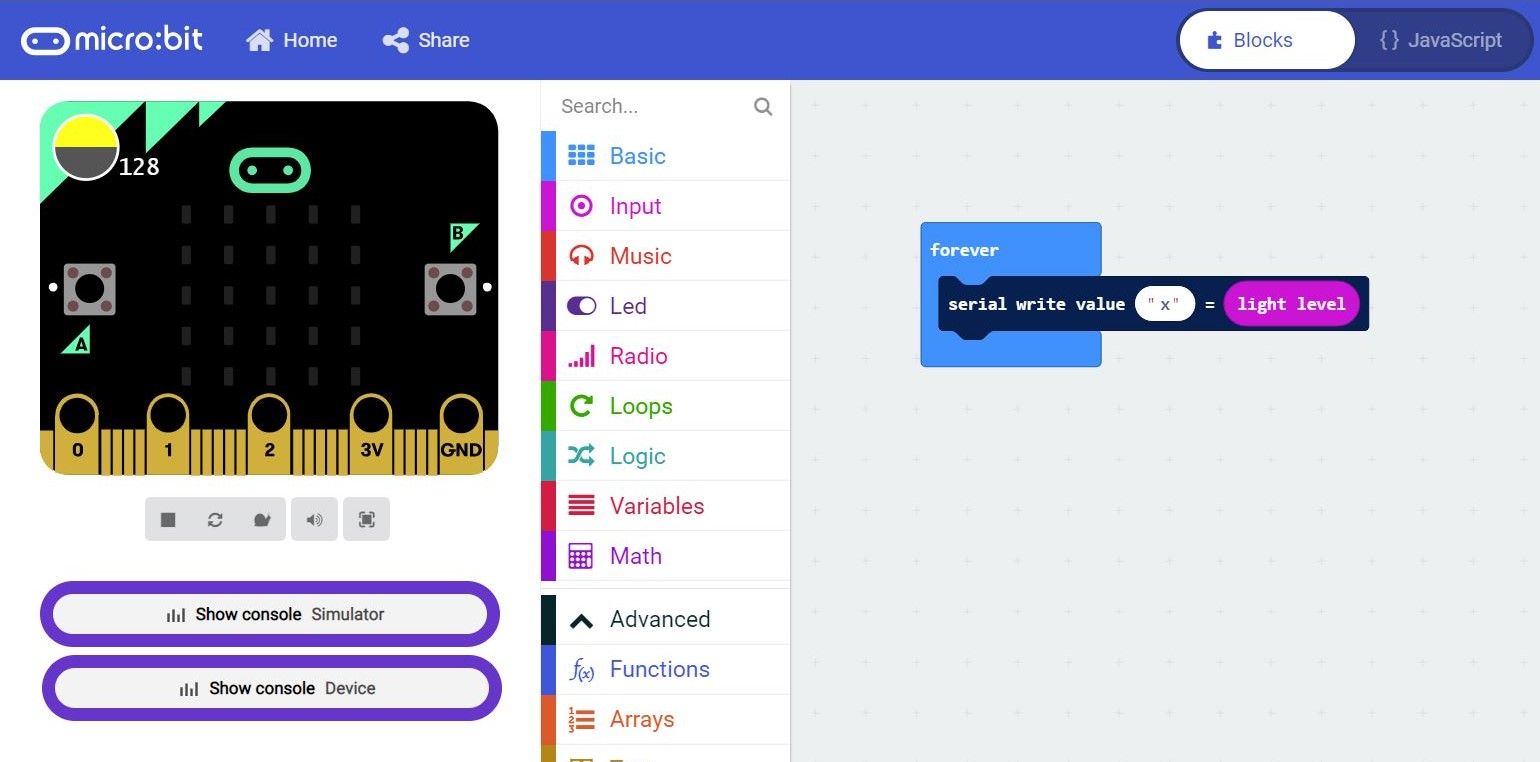
- In the Advanced menu, you will find Serial (dark blue blocks).
- We need to decide what to send as serial data. If you're just using a micro:bit, try it with the light level as measured by the LED grid on the front. There is another block that will do this, but choosing this one is good, because if we want to add a second lot of data, we'd need to label them.

This code will make the micro:bit forever send the light level data (with the label "x" on it) up the USB cable to your computer.
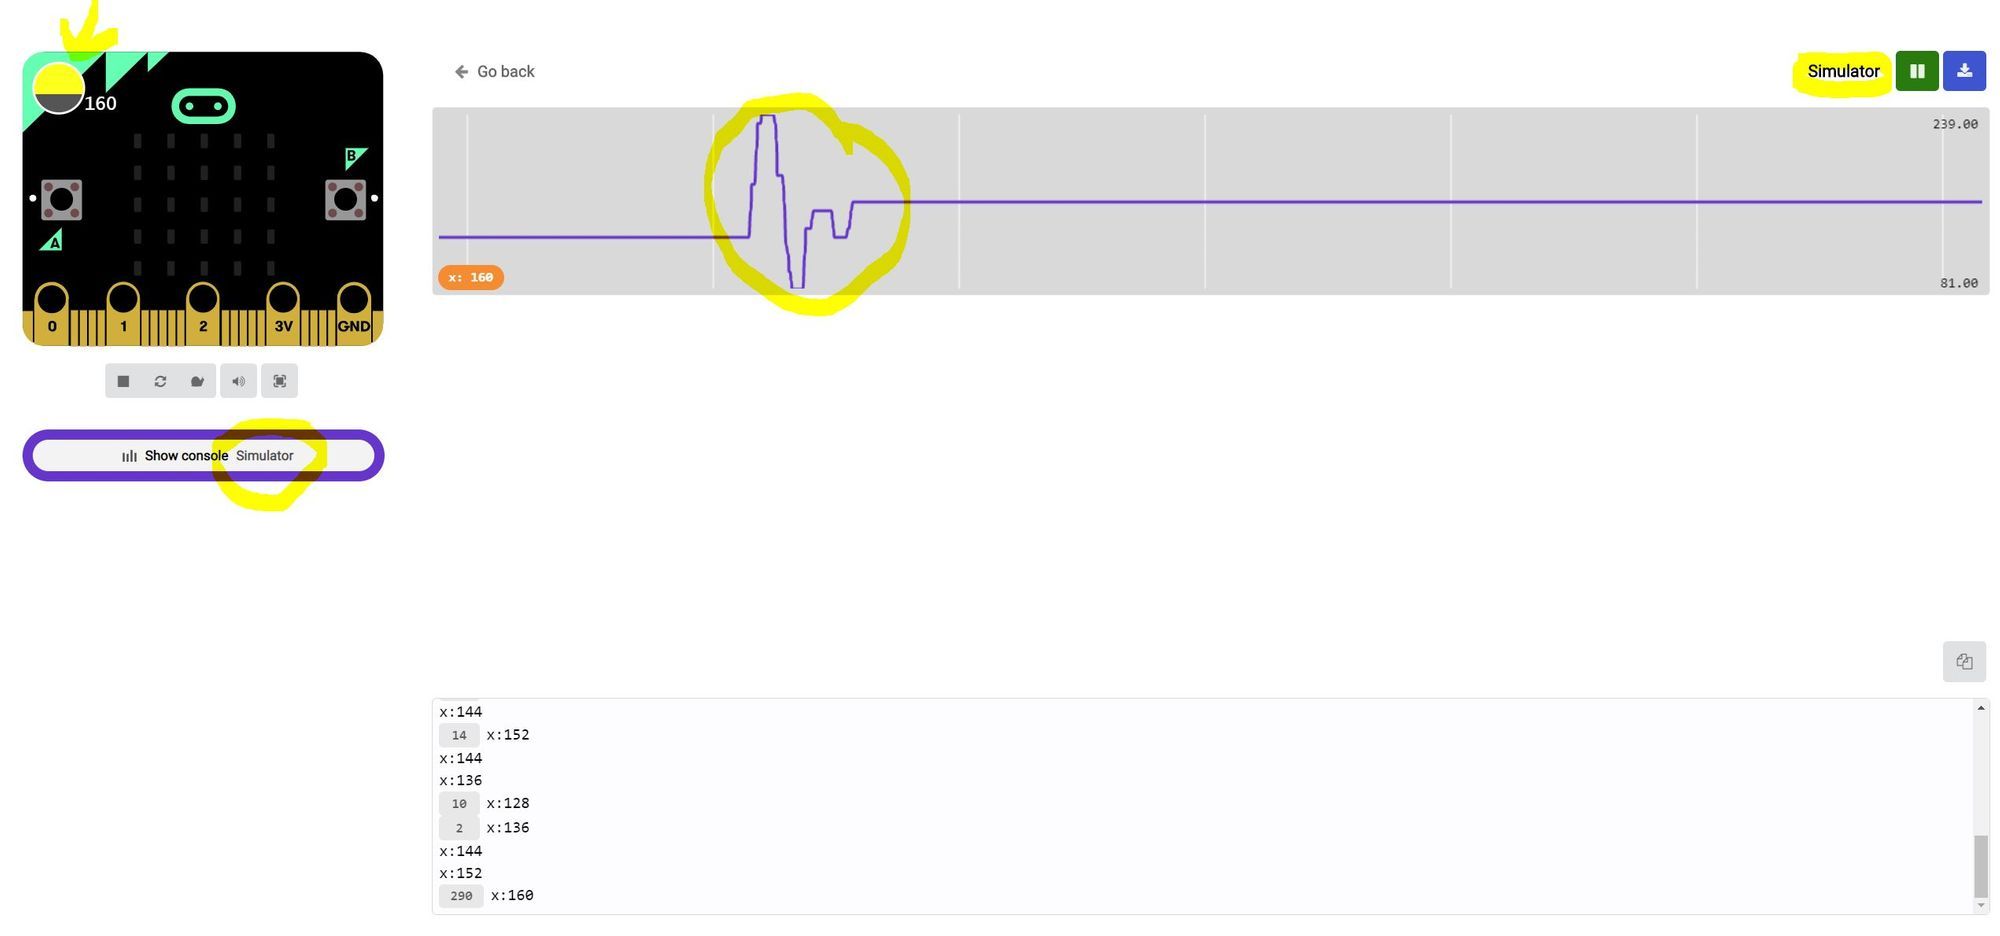
5. You'll notice the simulator on the left of the screen has changed slightly - there is a purple button which says "show console - simulator". We can click on it and look at what datalogging looks like.
It's kind of dull until you start to wiggle the little light simulator (top left), and then you can see the data change. The numbers you see at the bottom of the screen are the data that you can export to a file (which you can then open in Excel or in Open Office Calc).
However, you haven't been logging real data yet, only a simulation of what it expects will happen.
6. You now need to pair the micro:bit with your computer so it knows what to log the data from. Go to the settings cog in the top right of the makecode editor. When you click on it there is an option to "Pair device".
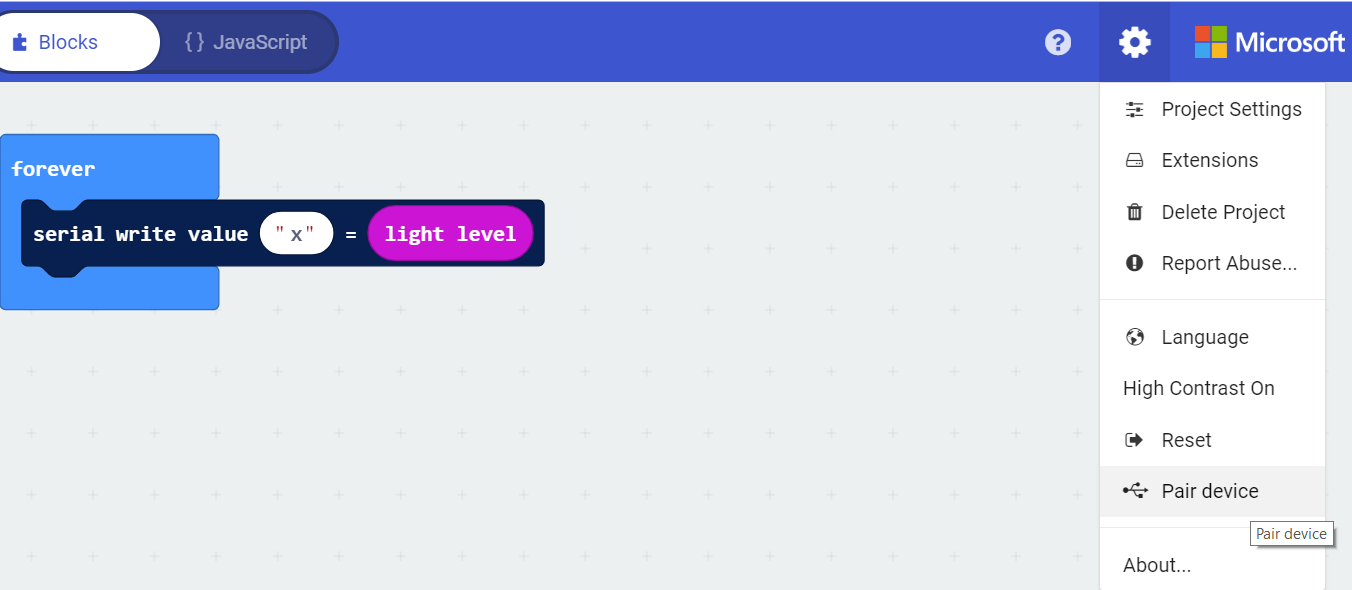
7. If you click on this, a dialogue box should pop up with some advice and a green button that says "pair device".
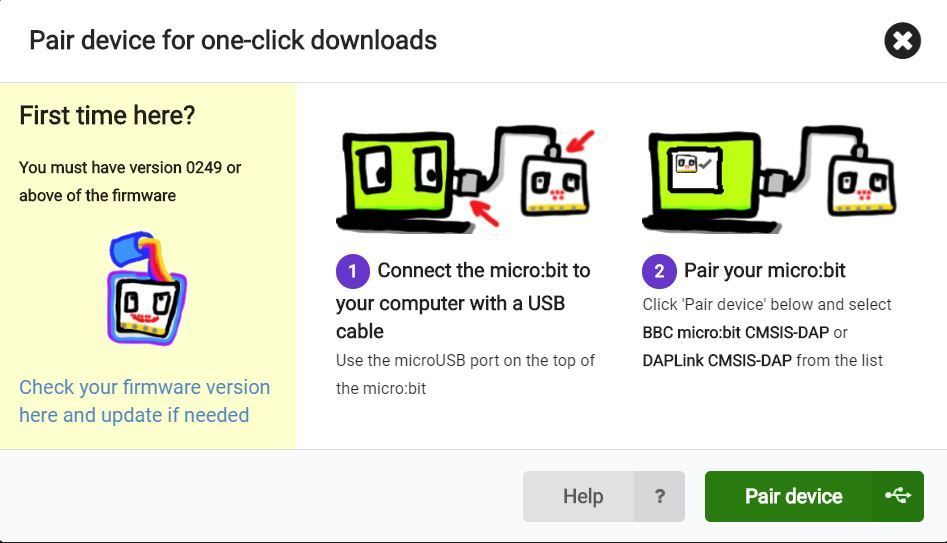
When you press the green button, you will get one of two things happen.
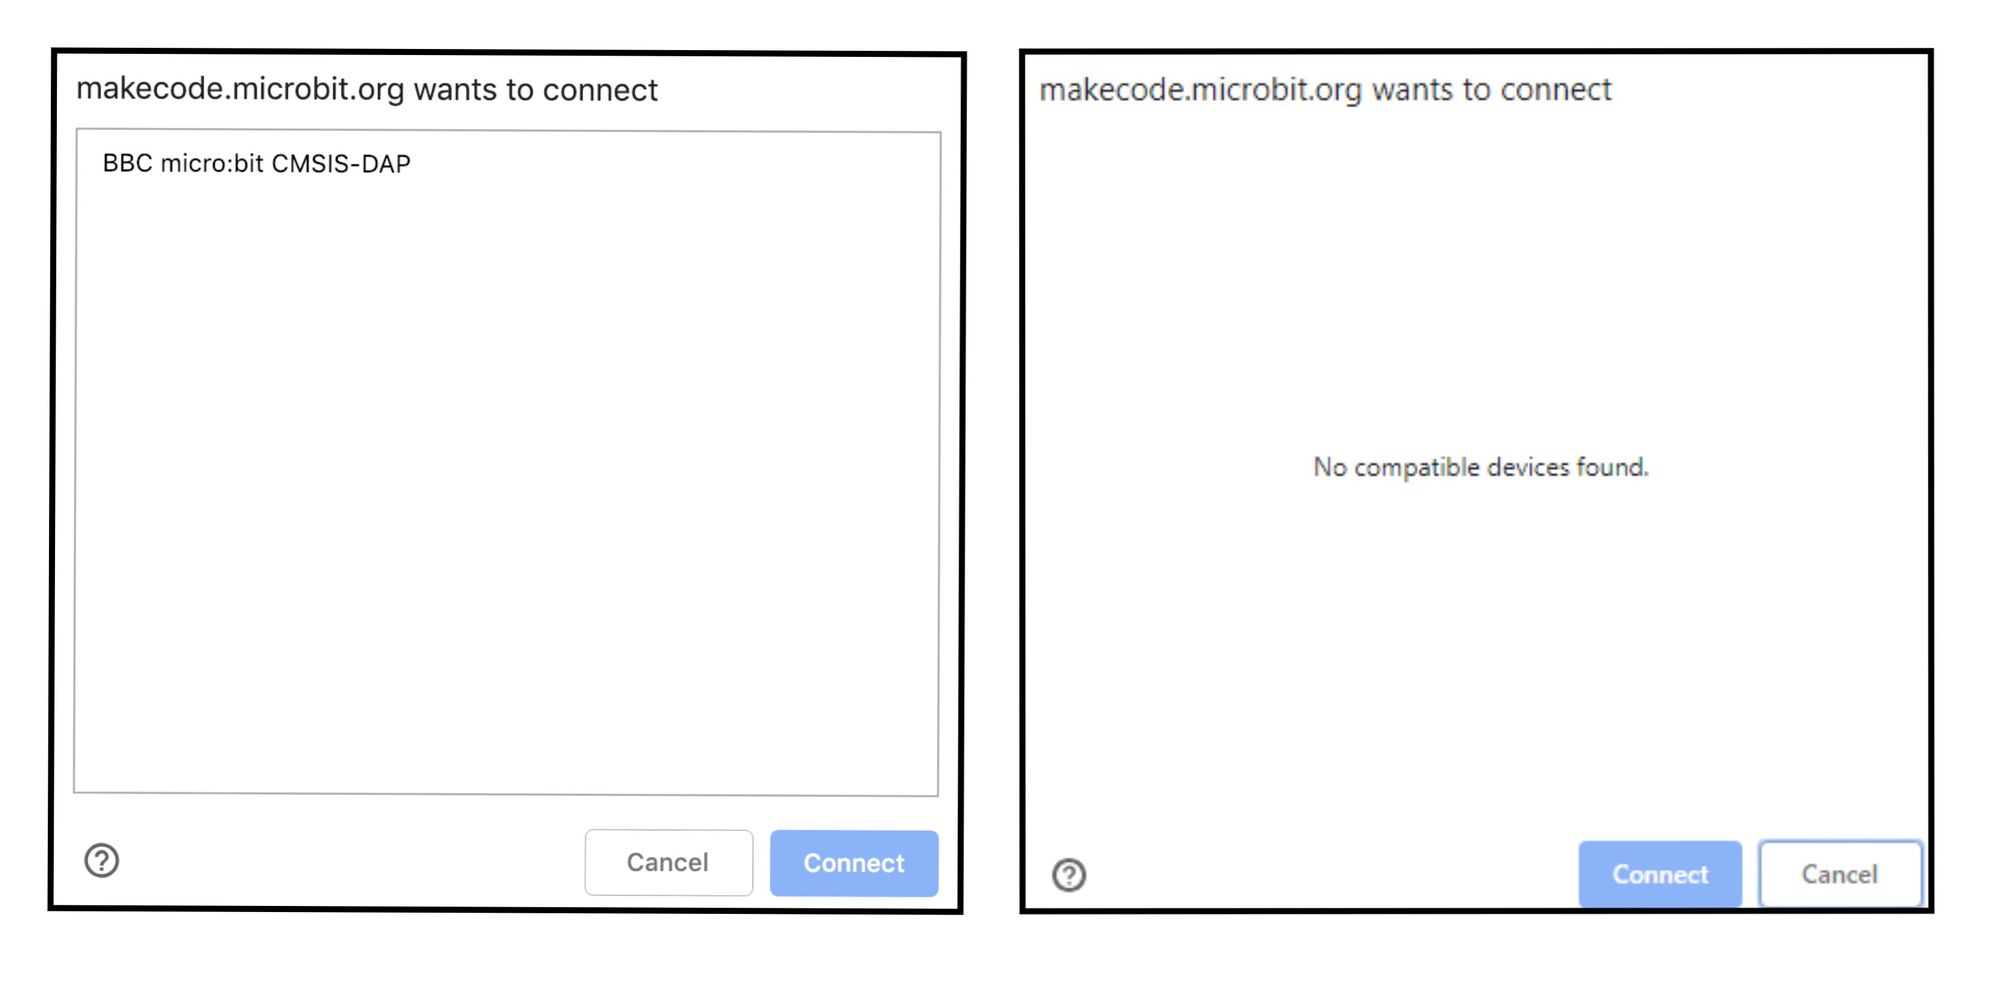
If you get the box on the left (it might say DAPLink CMSIS-DAP), highlight the device and click "connect", and carry on with this tutorial. If you get the box on the left but it says LPC1768, unplug and replug the microbit and start from step 6 again. If you get the box on the right, head down to the troubleshooting section and come back to this step after you've fixed it.
8. Download the code straight to the micro:bit using the download button - the beauty of pairing it is that you don't have to do the drag and drop thing to load code, it's replaced by a simple click on a button.
9. Once you have paired the micro:bit, you'll see a second purple button appear - and just like you viewed the simulation data, you can view the actual live data from your micro:bit.
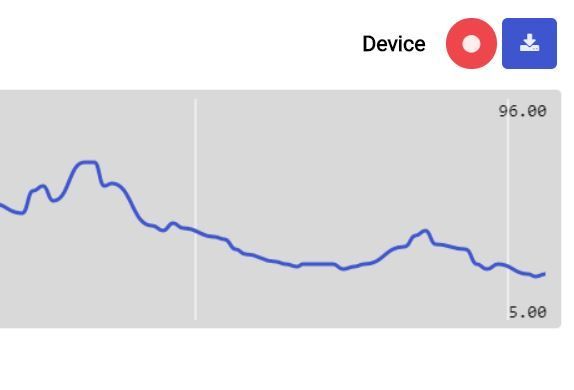
10. Click on the purple button for the micro:bit live data.
11. To record data, use the record (red circle), pause (two lines) and download (blue arrow) buttons.
The file downloaded to your computer when you click the blue button is a .csv file which can be opened in Excel or OpenOffice Calc, or a number of other programs, which you can then make shiny graphs with, or have a good look at your data.
Troubleshooting
Maybe you have old firmware on the micro:bit
You know when you plug your micro:bit in, it opens the folder for the micro:bit?
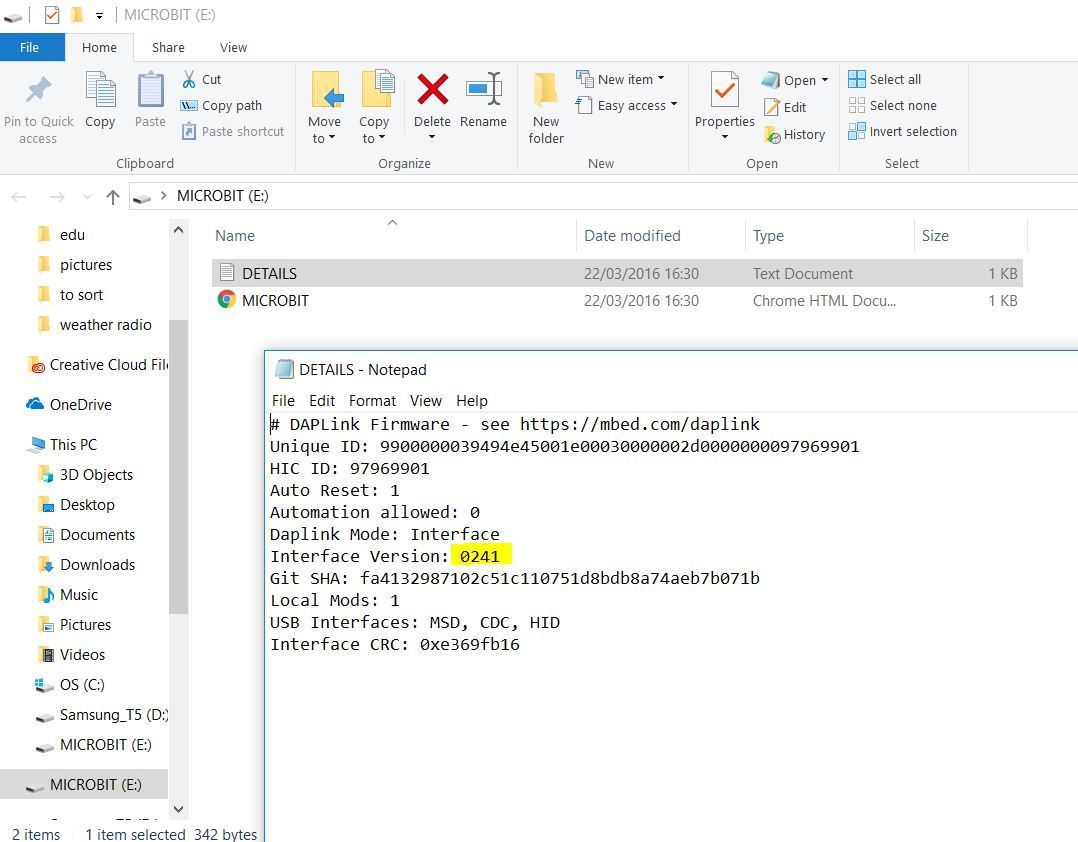
There is a file called "DETAILS" in there, and it tells you all the technical details about your micro:bit. You're looking for Interface Version 0249 or above. If it is a lower number than that, you'll need to update the firmware because it does not know how to do the stuff we want it to.
Update the firmware. Follow steps 1-4 from this page.
Maybe you are using an old browser (doesn't apply if you're using the app)
The next thing you need to check is the version of the Chrome browser. You need version 65 or higher. Check this by clicking on the three dots in the top right of your browser, and choosing settings.

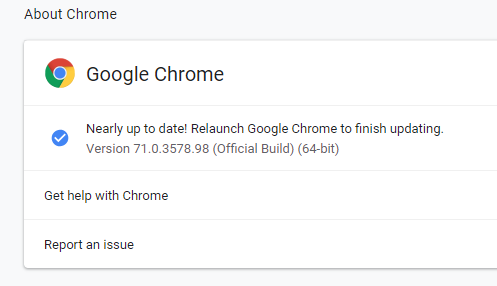
Then click on the three lines in the top left of your browser, and choose About Chrome.
It should show you your current version, and will search for updates. Mine is running version 71 (it's the first numbers you look at). It will auto-update if you let it, which may mean restarting the browser.
Maybe you've forgotten to connect the micro:bit
It happens! Ensure your micro:bit is plugged in to your computer via the USB lead when you attempt the pairing. Try again from step 6 if that was the problem.
After all that, it's still not working?
You're running Windows 10. You're using a Chrome browser, version 65 or above, or the app. Your micro:bit has the latest firmware. You've connected the USB cable correctly. In some cases, we've found the odd computer that won't pair (3/10 here in our office).
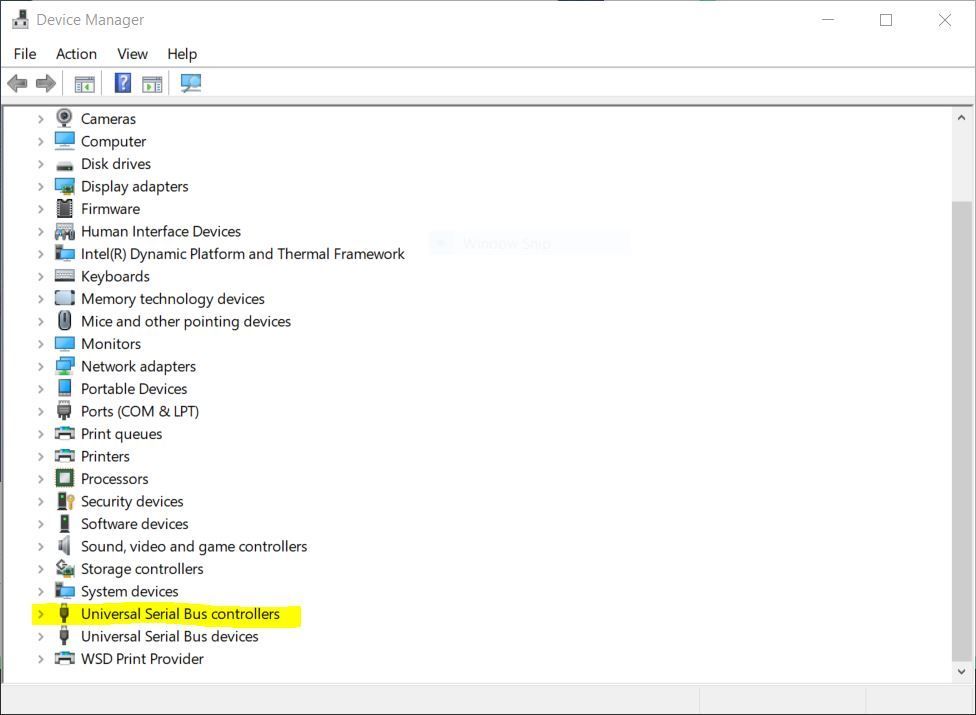
To fix it, you need to go into Device Manager.
Scroll down until you get to Universal Serial Bus Controllers and click to expand that bit of the menu.
Look for one called mbed composite devices and right-click on it. Choose "uninstall" and a little window pops up.
Check the box that says delete the driver software, then click uninstall.
Unplug the micro:bit from your computer, then plug it back in. Wait a few seconds and look again in Device Manager. There should be a bit called Universal Serial Bus Devices, and in there you should see the micro:bit as a name ending in CMSIS-DAP.
Go to step 6 and try from there.
Still not working? Let us know.